You’ve opted to process, tag and upload images in-house and your photographer has handed you a drive full of files in different formats – but which ones should you tag?
You have a few different options:
1. JPGS already resized for uploading to Image Approvals:
If your photographer has kindly provided you with JPGS that meet our uploading specifications (maximum of 1000 pixels on the longest side and under 500kb in size), then tag these.
How do I know what size my JPGS are?
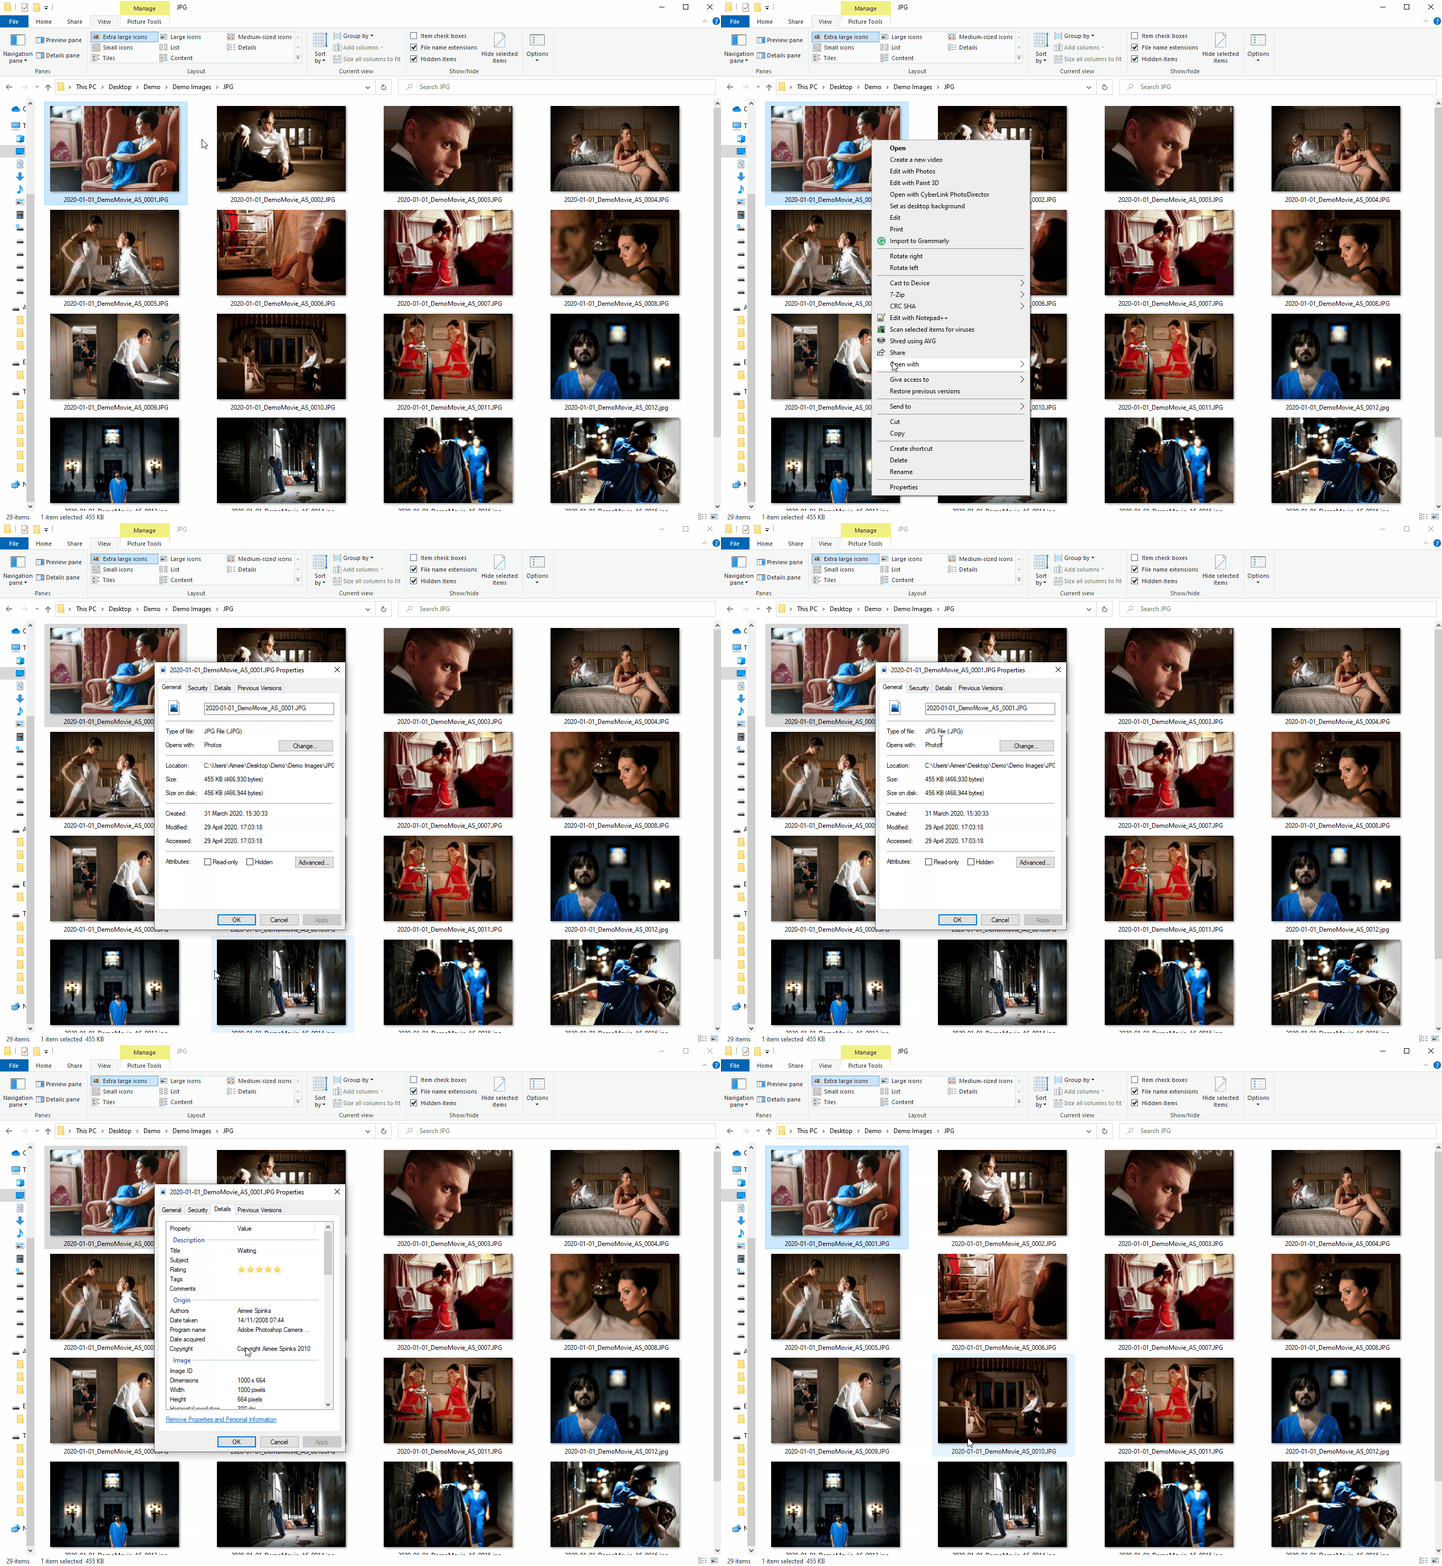
If you are using Windows, simply use the file explorer to open your folder of images and hover your cursor over the image in question and after a few moments, a modal will appear containing the information you need.
You can also right-click on the image and select properties.

If you are using a Mac, click Finder in your Dock and CNTRL+click the image you want to check.
Click Get Info. Expand General to see your image’s file size and expand More Info to see your image’s dimensions.
Now you have identified the images you want to tag, here is how to do just that!
2. If you have high res JPGS
If you don’t have low res JPGS ready to upload, but you have high res JPGS, tag and create low res copies from these as they will be quicker for you to process than raw images.
Now you have identified the images you want to tag, here is how to do just that!
3. If you just have raw files
If you only have raw files from your photographer, then tag these before creating your low res JPG copies of them.
Raw file types come in many formats. The most common have the following file endings and your photographer will most likely just use one:
.NEF
.CR2
.DNG
.ARW
.RAF
.TIFF
Now you have identified the images you want to tag, here is how to do just that!
How do I filter image types when there are lots of different file formats in one folder?
We always recommend you ask your photographer to create separate folders for different image types and clearly label them so it’s easy to find the images you need.
If your photographer has popped the JPGS and raw images together in one folder for each shoot day, you can do the following to quickly separate them:
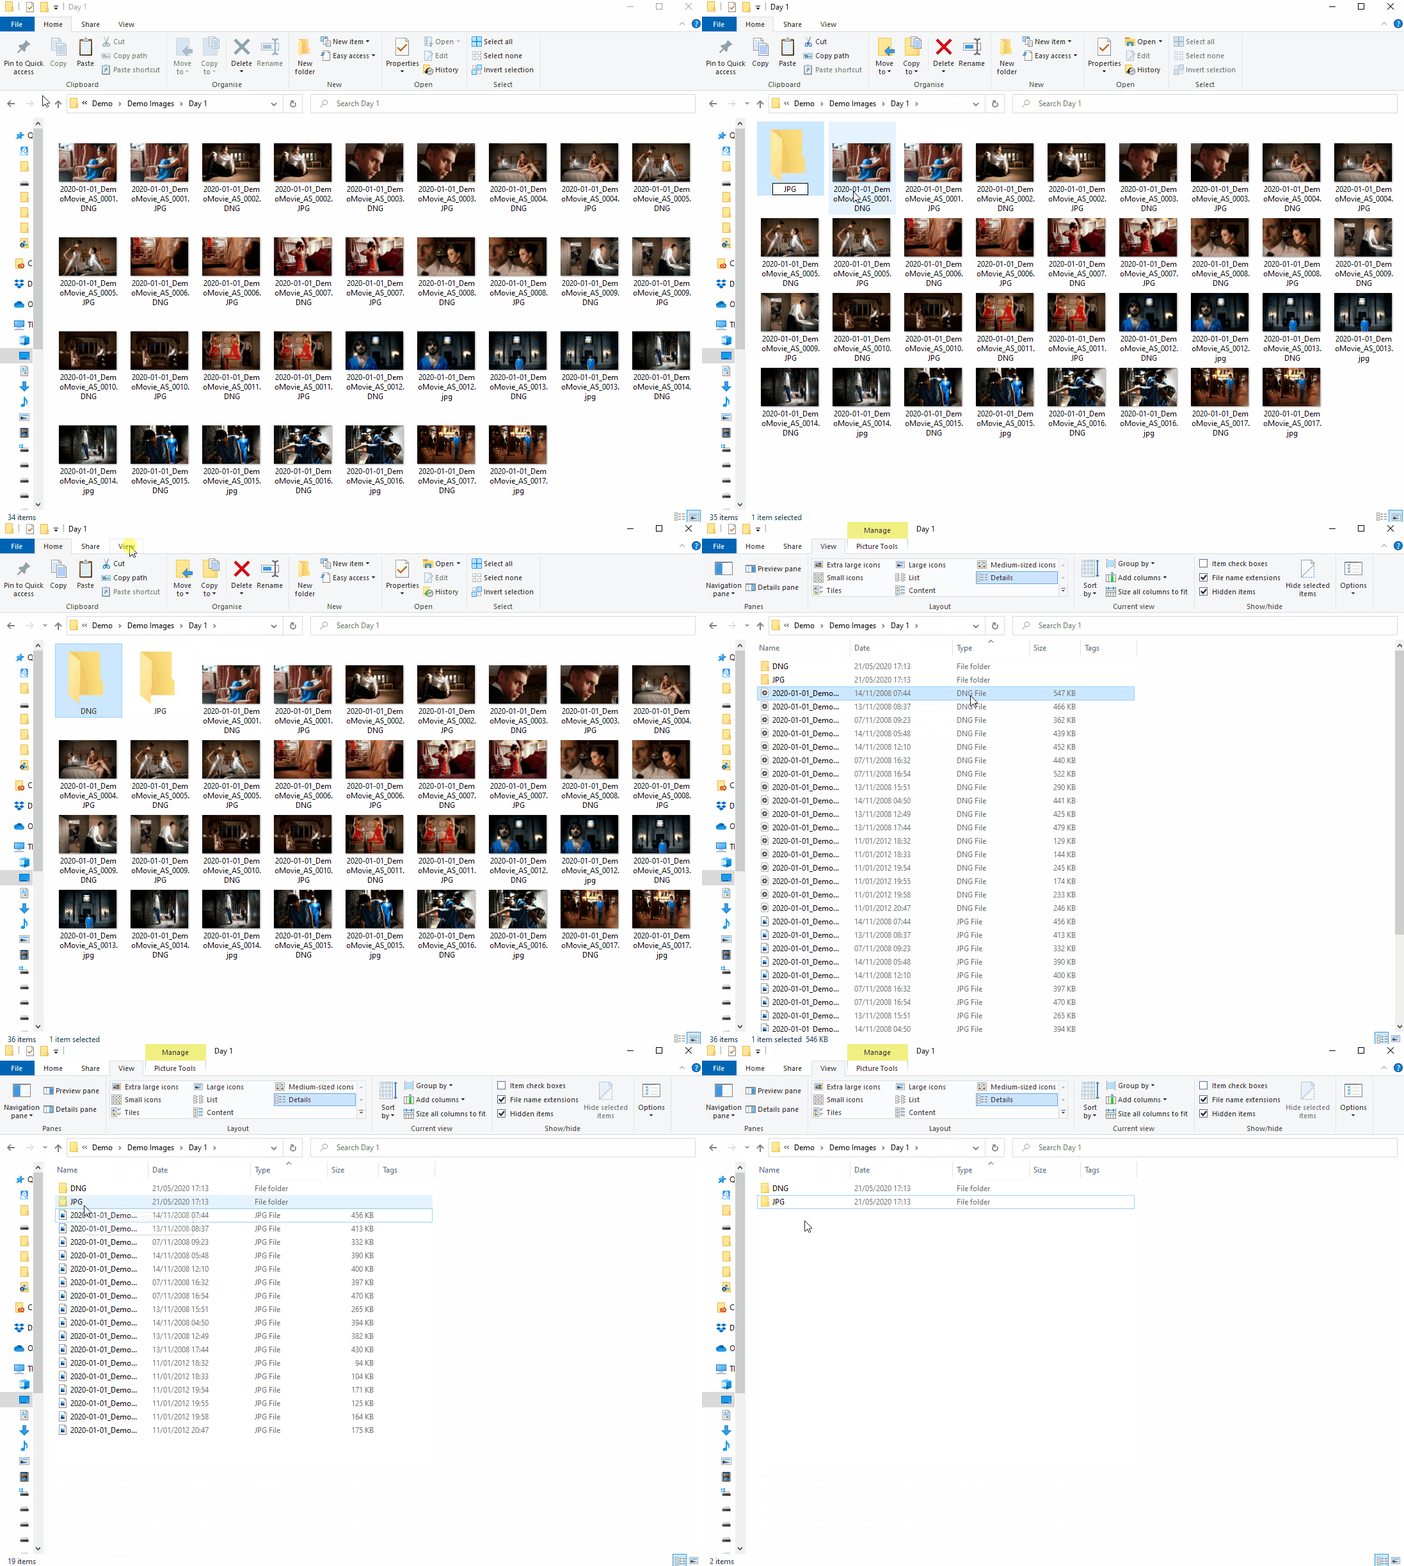
1 – Drag and drop files into a separate folders
Using Windows or Mac file explorer, navigate to the folder of images you want to organise.
Create a new folder for each file type present in the folder. Eg one called JPG and one called DNG.
Then, making sure you are viewing the images via their details, not thumbnails. This will enable you to organise by file type to make it easy to then drag and drop images into their respective folders.
Note that if you spot any .XMP files, these do not need their own folder and should be moved to the same raw image folder as their raw format counterparts.

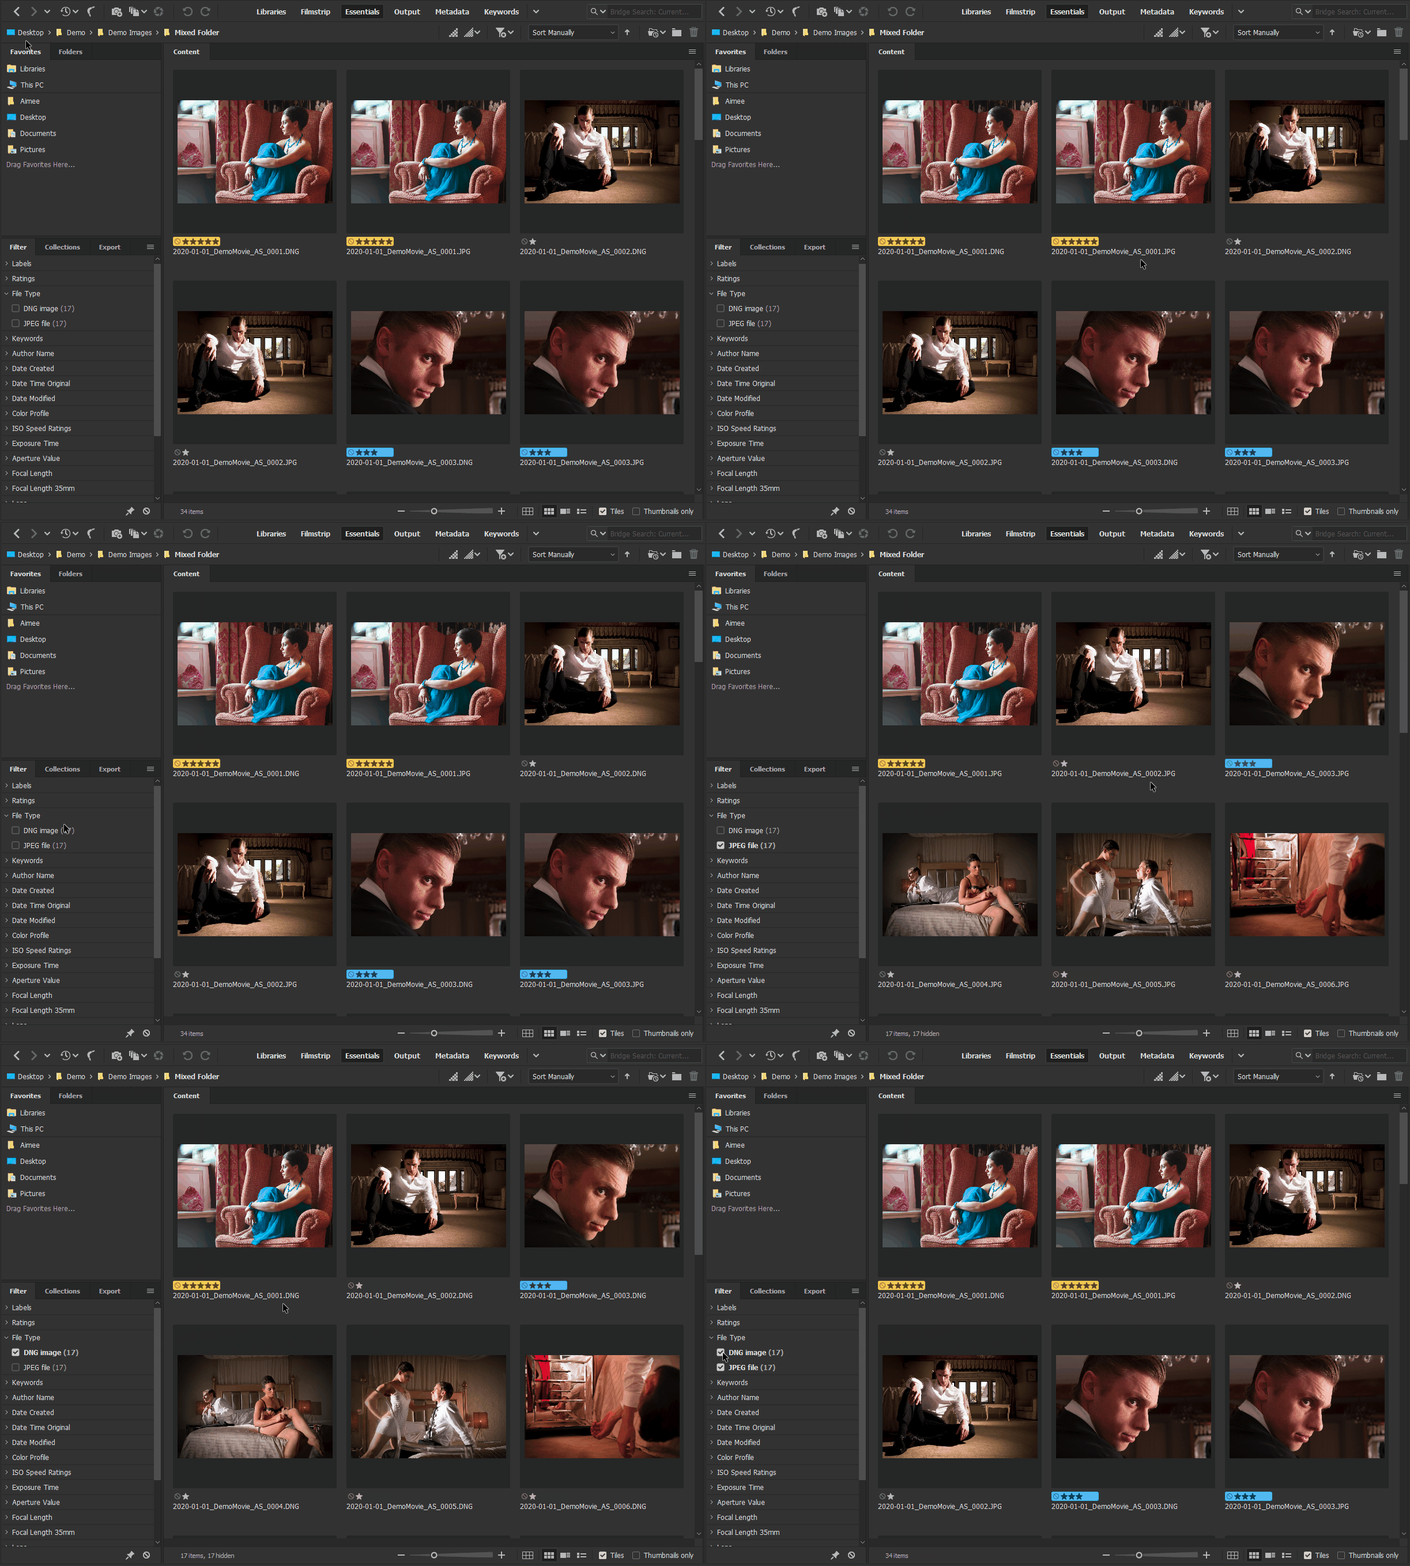
2 – Using Adobe Bridge filters
If you haven’t already, download Adobe Bridge – this is the free tool you will be using to tag and resize your images.
- Open Adobe Bridge and navigate to the folder of images you want to separate out.
- Open the filters tab on the left side of the workspace and toggle the file types you want to see on or off.

Now you’ve identified which images you want to tag, here’s how to tag them.
