
With Image Approvals, you have the flexibility to mark your selects at any stage — whether that’s in parallel with the cast’s approval process or afterwards. Some clients prefer to wait until approvals are complete, as having visibility on which images the cast are happy with can make the selection process quicker and more confident. Either way, our platform supports whatever workflow suits you best.
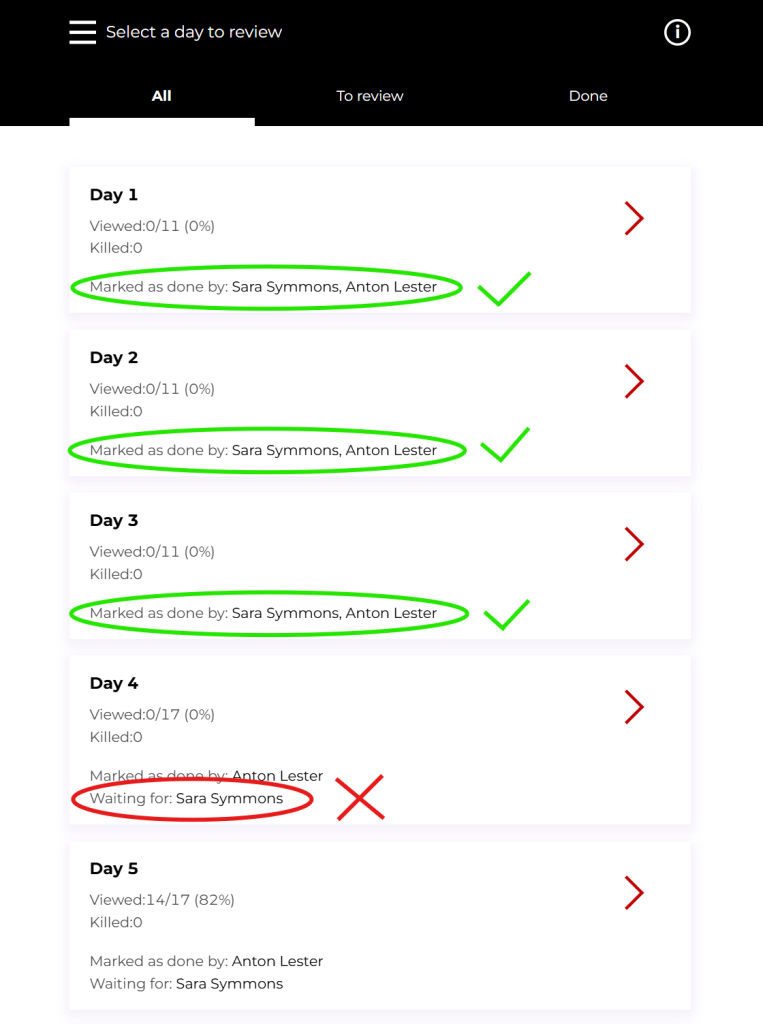
This is a quick guide to show you how to view just the images that are approved and how to mark them as a select. Please note If any of the days show as Waiting for actors, then these days will not be visible when following the steps below:
Viewing approved images only and marking selects:
Log in to your account at app.imageapprovals.com and select the production you want to view.
- Open the menu and navigate to the Killed and Unkilled page.
You’ll see the following image viewing tabs:
- Killed
All images that have been vetoed (killed) for that day - Unkilled
All images that have not been killed, regardless of whether the day has been marked as “done”. Images here are not necessarily approved; they just haven’t been killed yet. - Approved
Unkilled images appear here for shoot days that all actors have marked as done. All images here are therefore officially talent-approved.
Select the Approved tab and use the drop-down menu to choose the shoot day/image folder you want to review.
Click on the first thumbnail to view the image and navigate through the approved photos for that day using the cursor keys or by clicking the left of the image to go to the previous photo or the right of the image to move on to the next photo.
If there is an image you would like to mark as a select, just click the yellow star icon at the top of the screen. Click it again to undo your choice.
Remember: selects are global – all production accounts see all selects made. If one user adds a select, it shows as a select for everyone. This enables streamline collaboration to build a single set of key selects.
How many selects do I have?
You can see how many selects you have in total as well as how many selects there are of each actor, by clicking the “i” icon in the top right corner.
Review your selects
To review your selects, simply open up the menu and navigate to the Selects page, using the drop-down menu to choose the day you’d like to view the selects for.

You’ll see the following viewing tabs as before: All Selects, Unkilled Selects, Approved Selects
Click on the tab you’d like to review then click through the images using the left/right arrows on your keyboard or the arrows either side of the images.
If you’d like to remove a select, just hit the star icon in the top right corner to remove it.
Want to learn how to share your selects? Check this article for the various ways you can do so.